Uploading your project on UNI is a straightforward process that begins in your profile. Here’s a step-by-step guide to ensure your project shines in the best light:
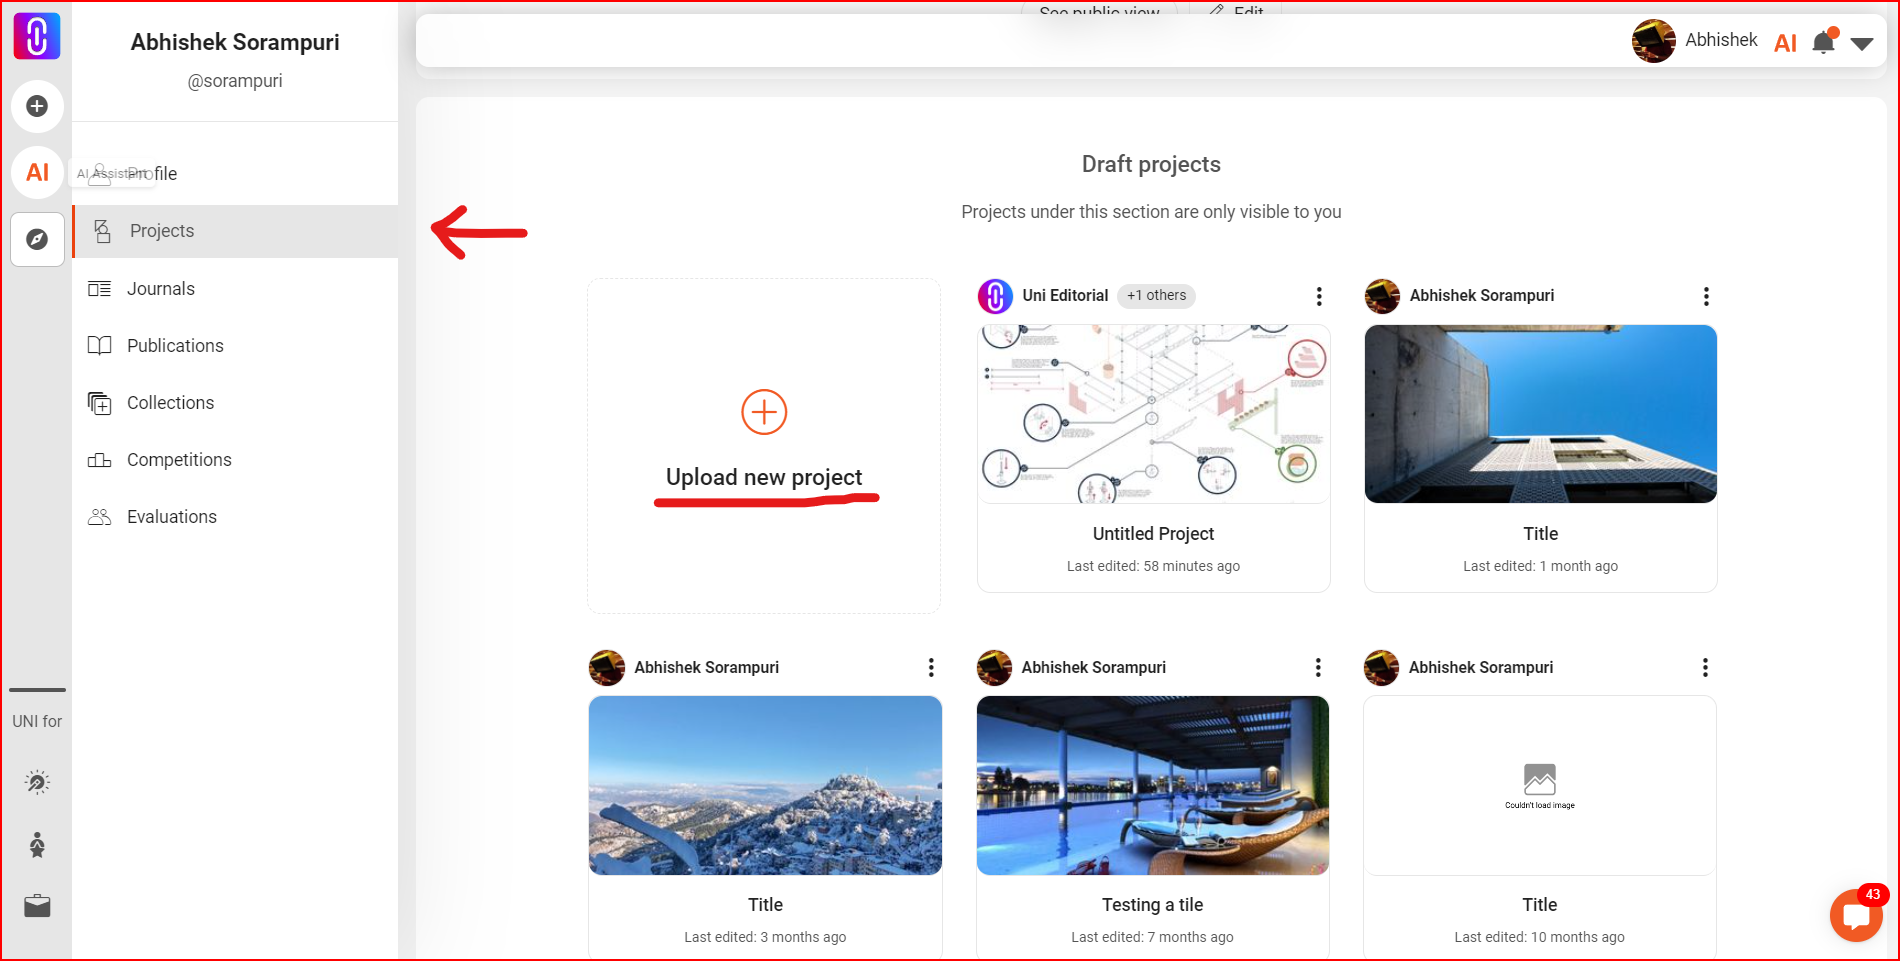
Go to your profile on UNI and click on the 'Project' tab. Here, you'll find the option to 'Upload New Project.' You will also find your draft projects which you have started but haven't published yet. Only Published projects are visible to the public and can be added to a competition entry.
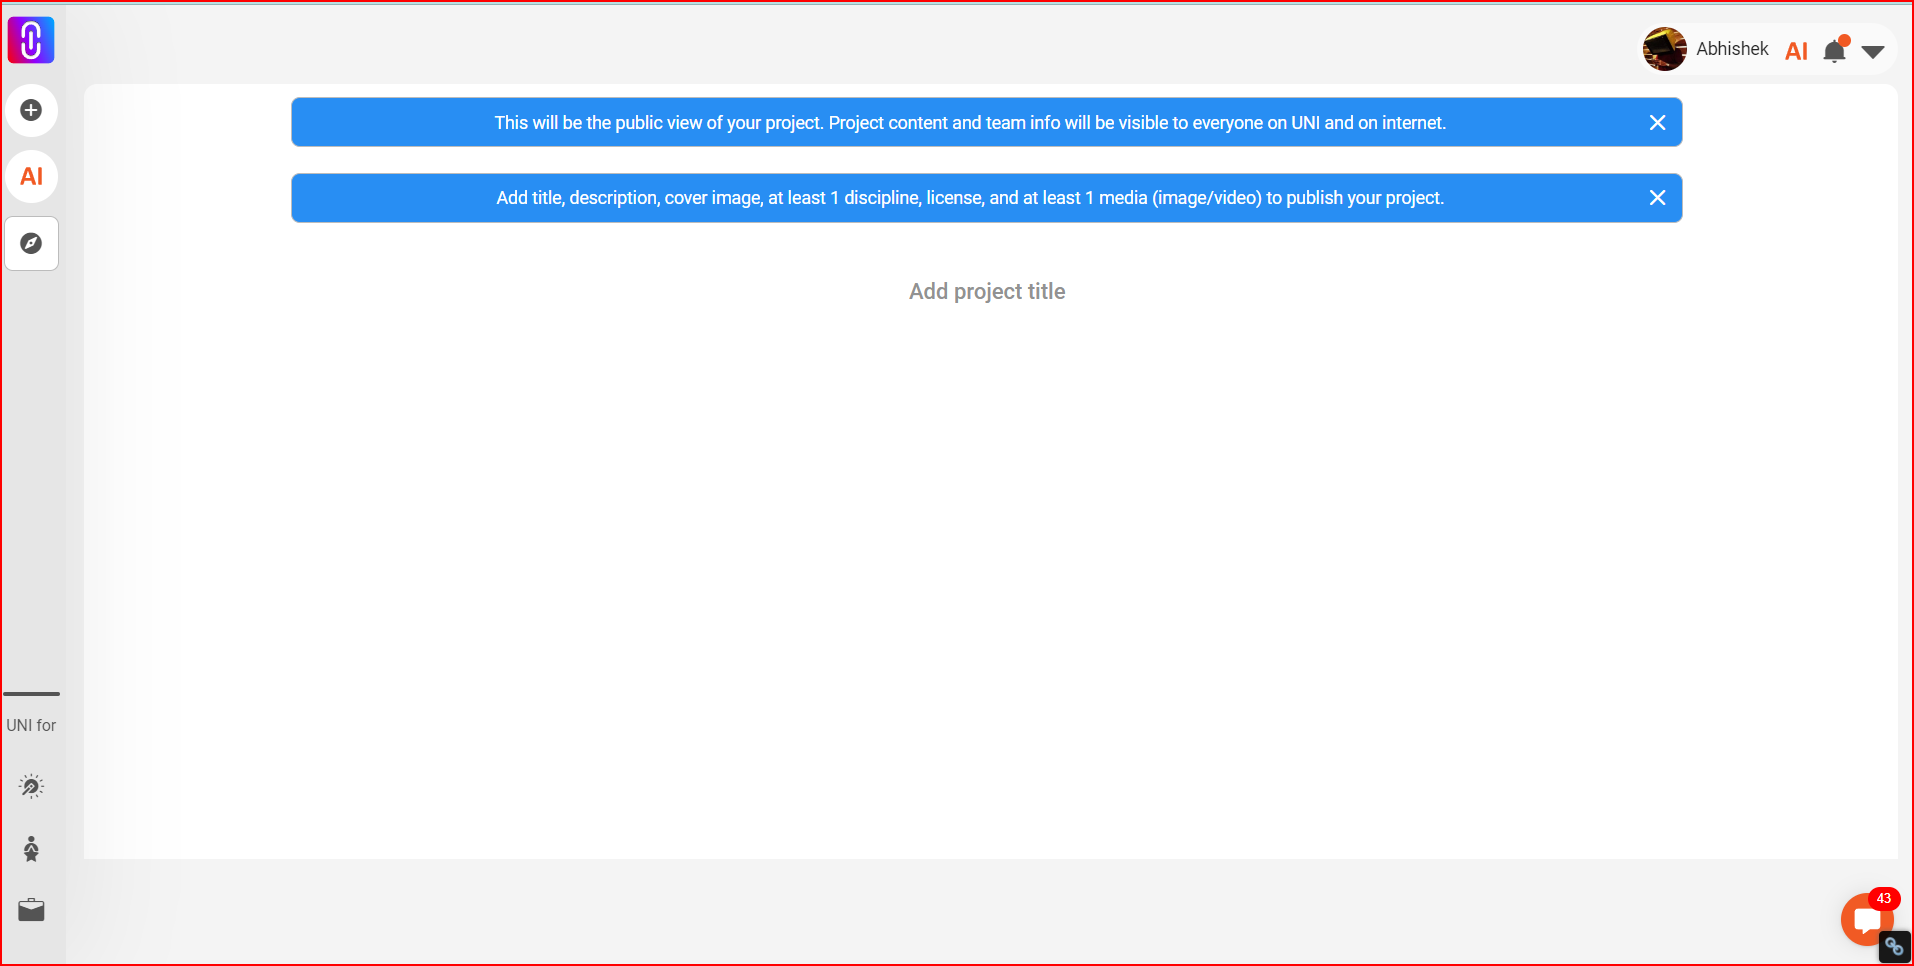
Enter your project title, which will lead you to the project manager. This title is crucial as it’s the first impression your project makes. This title can be modified later at any stage.
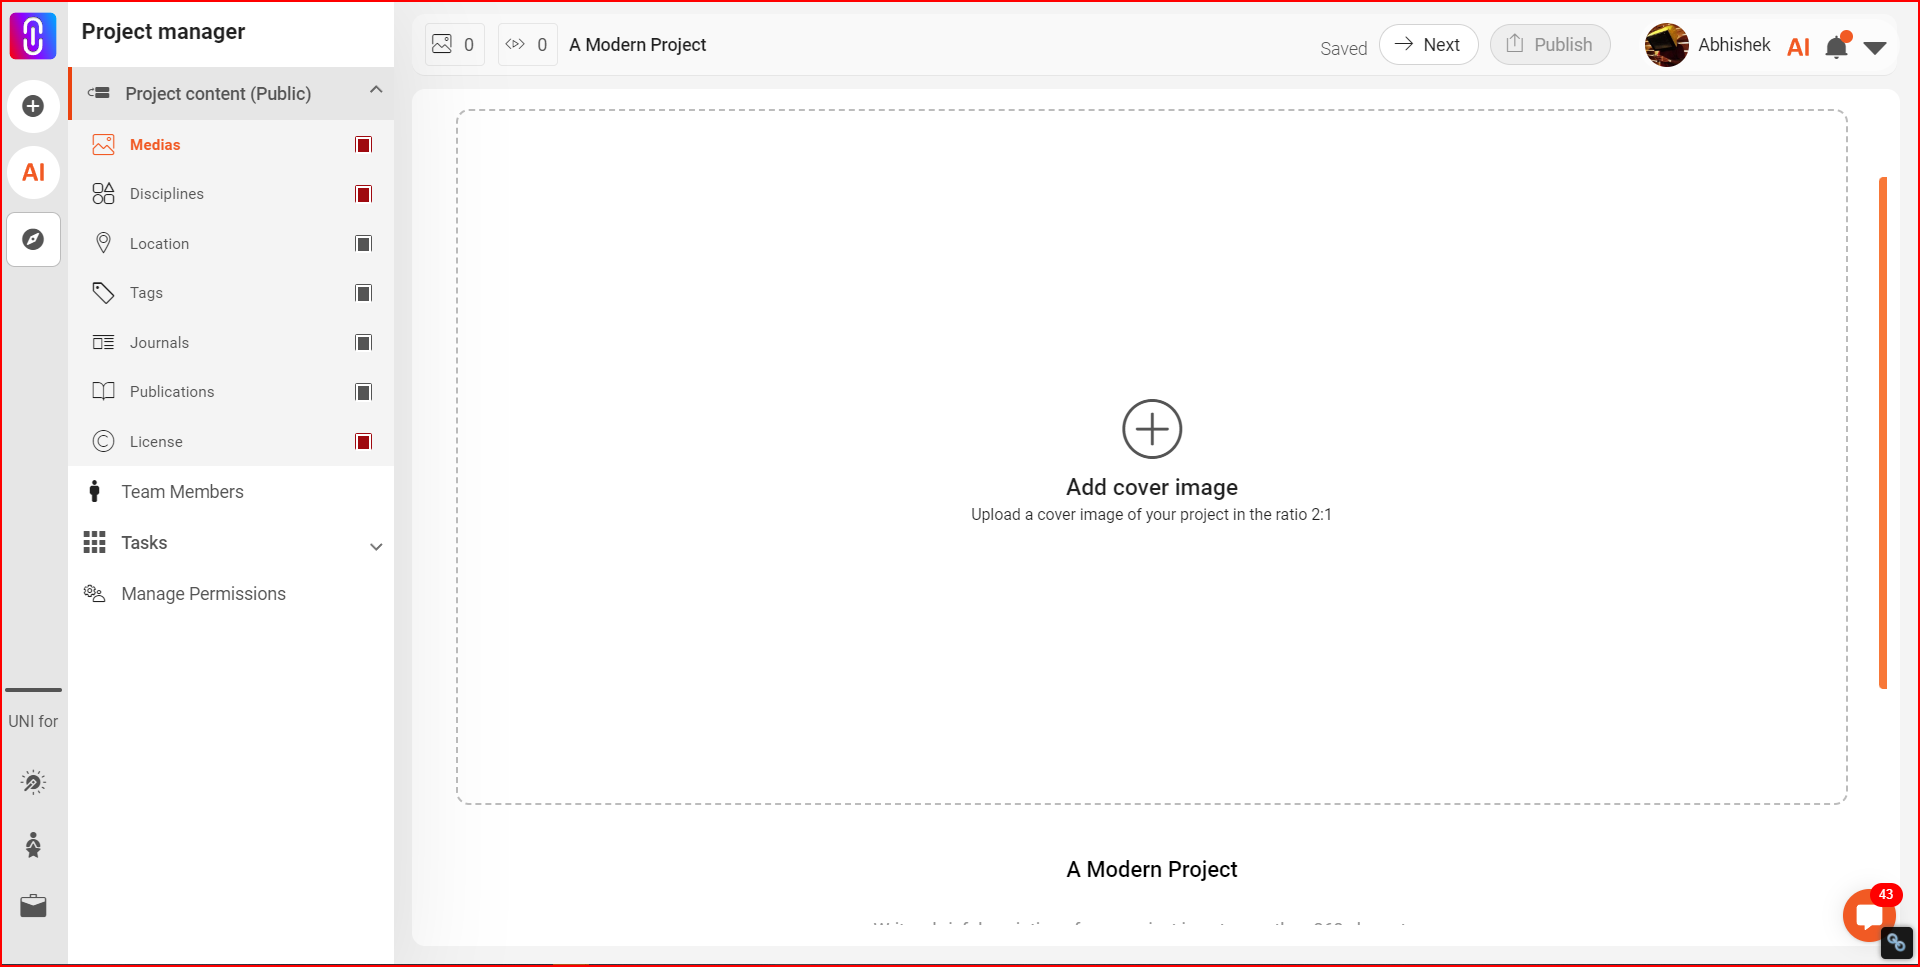
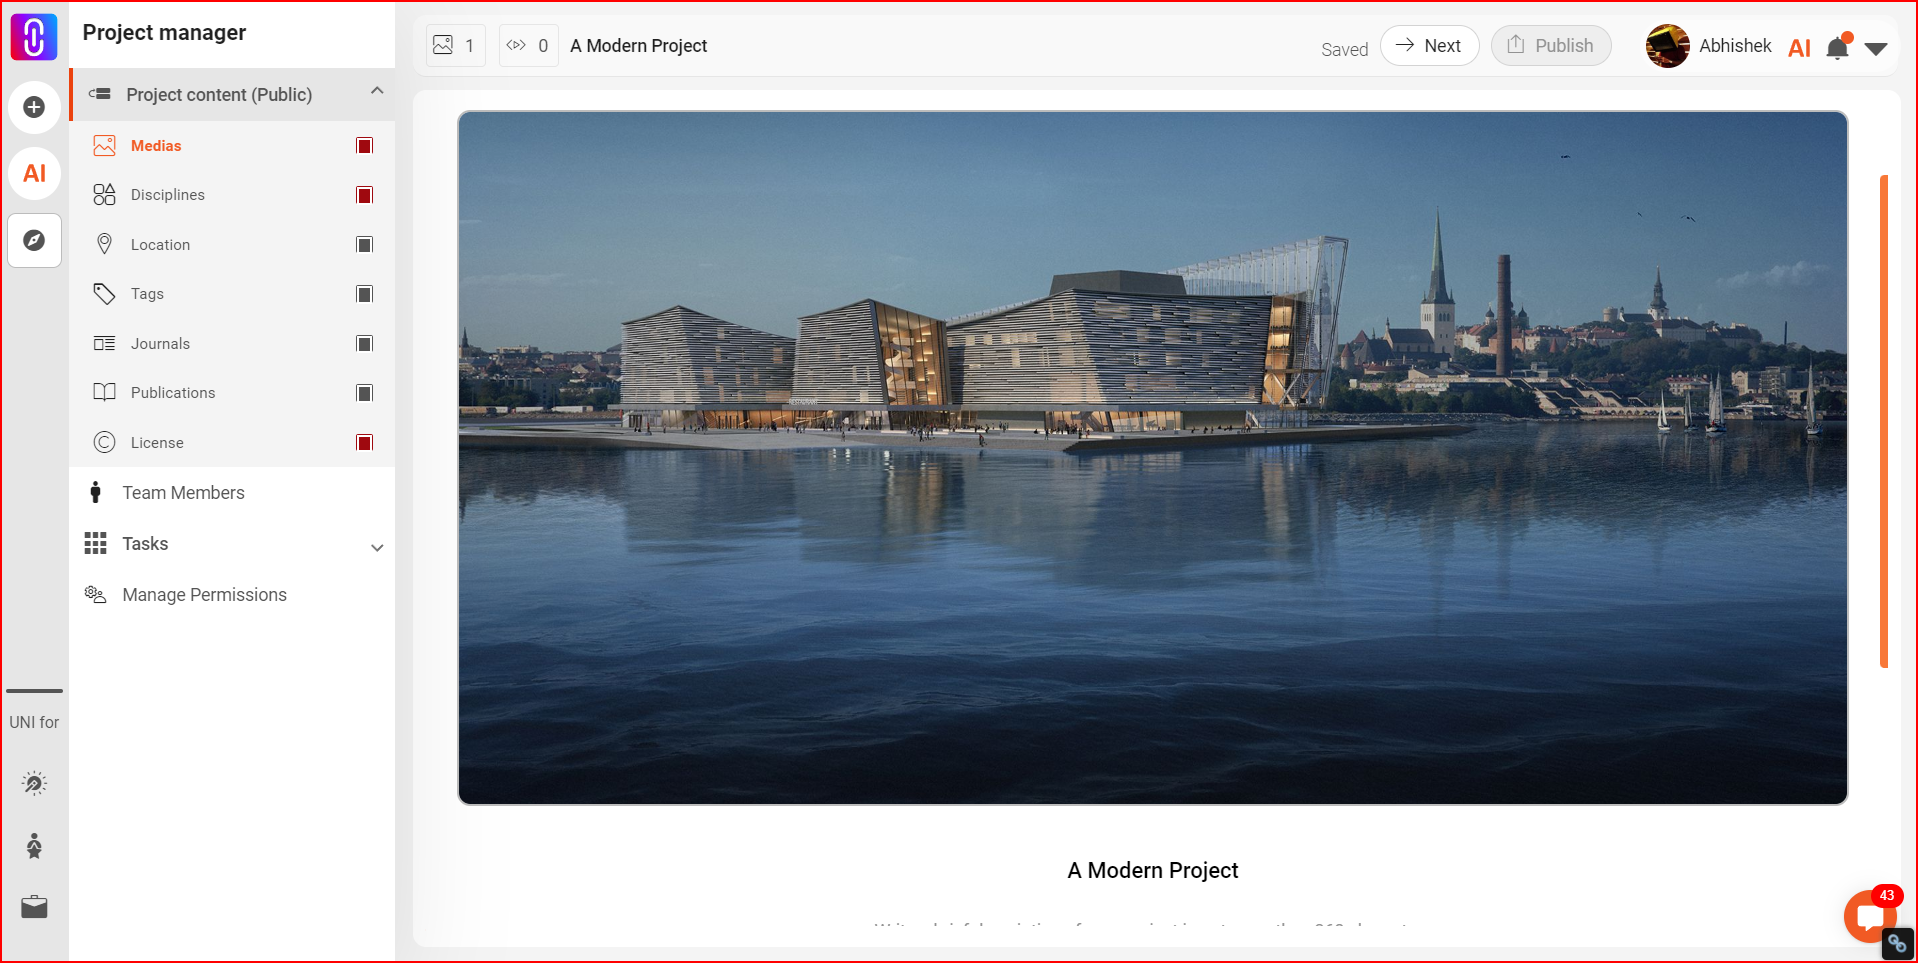
The cover image is key as it also serves as the thumbnail for your project card. Ensure it's in a 2:1 landscape aspect ratio for optimal display.
Write a concise project description within 360 characters. This should be like an elevator pitch, capturing the essence of your project in a few compelling sentences.
Adding Media to Your Project
Image and Embed Options: You can upload images or embed multimedia content like audio, video, or 3D models.
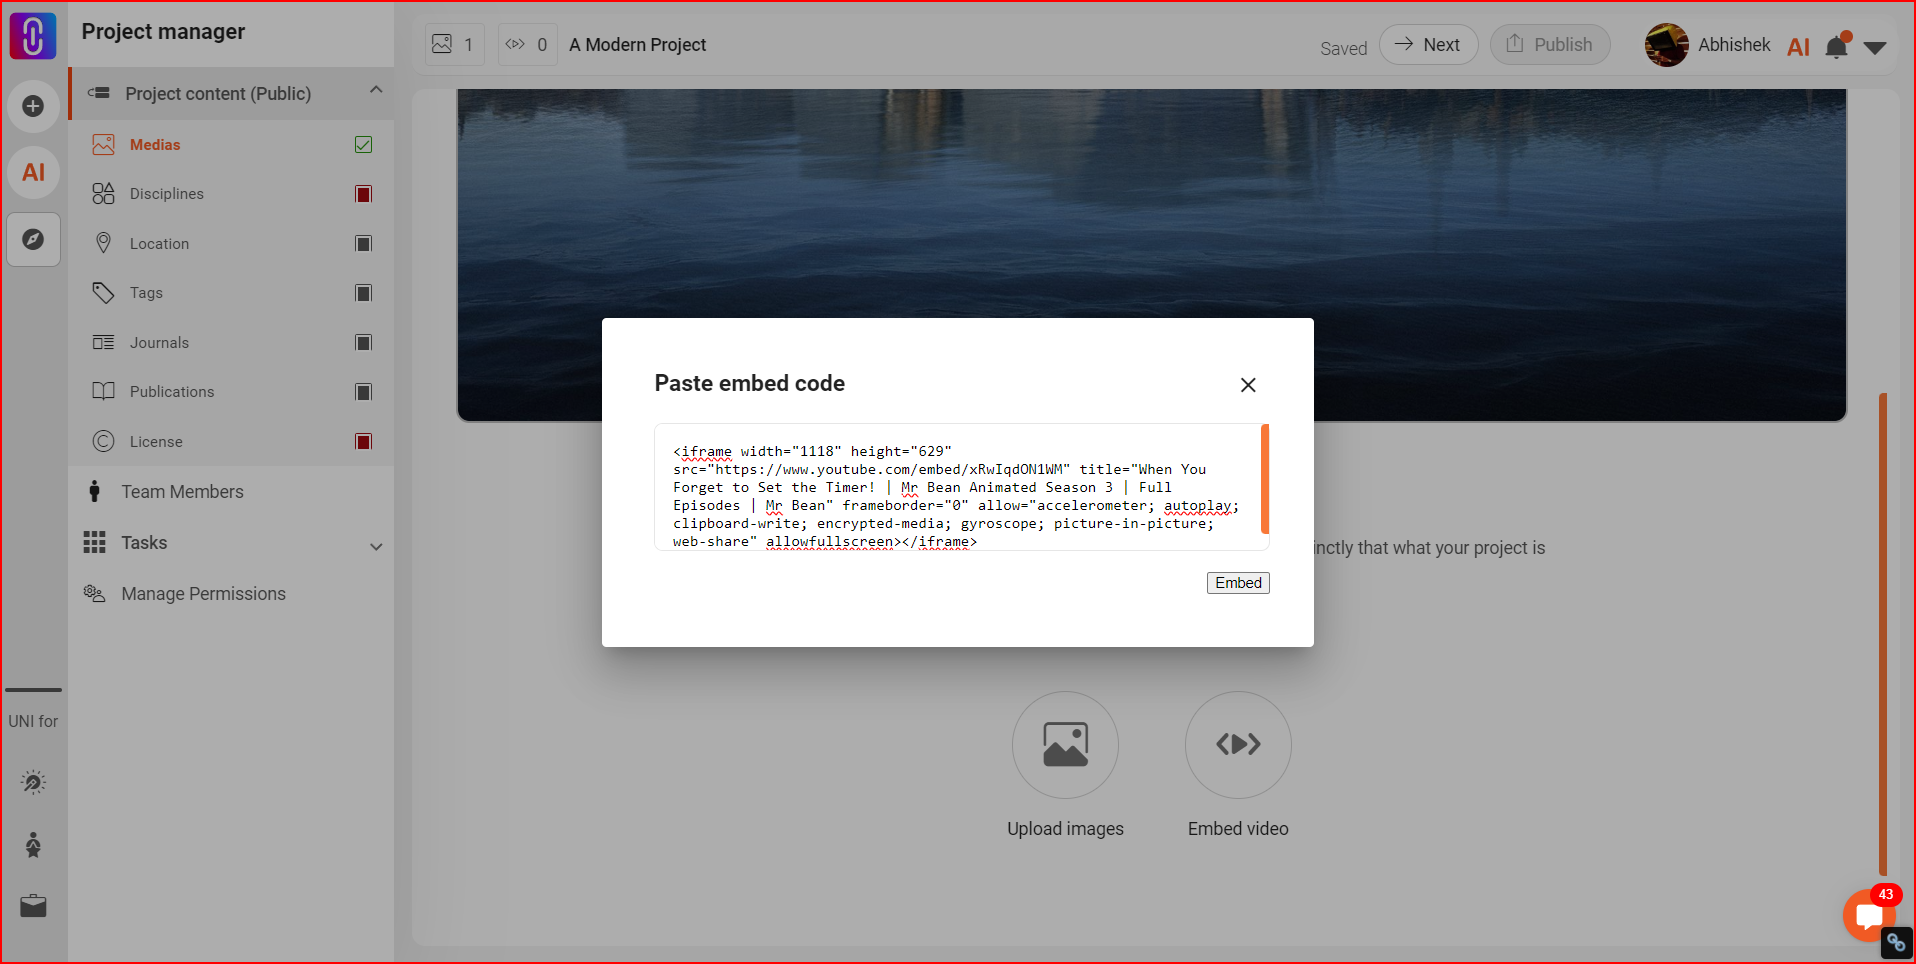
Image Specifications: Use JPG or PNG format, ensuring images don’t exceed 15 MB and 25 million pixels (e.g., 5000 x 2000 px).
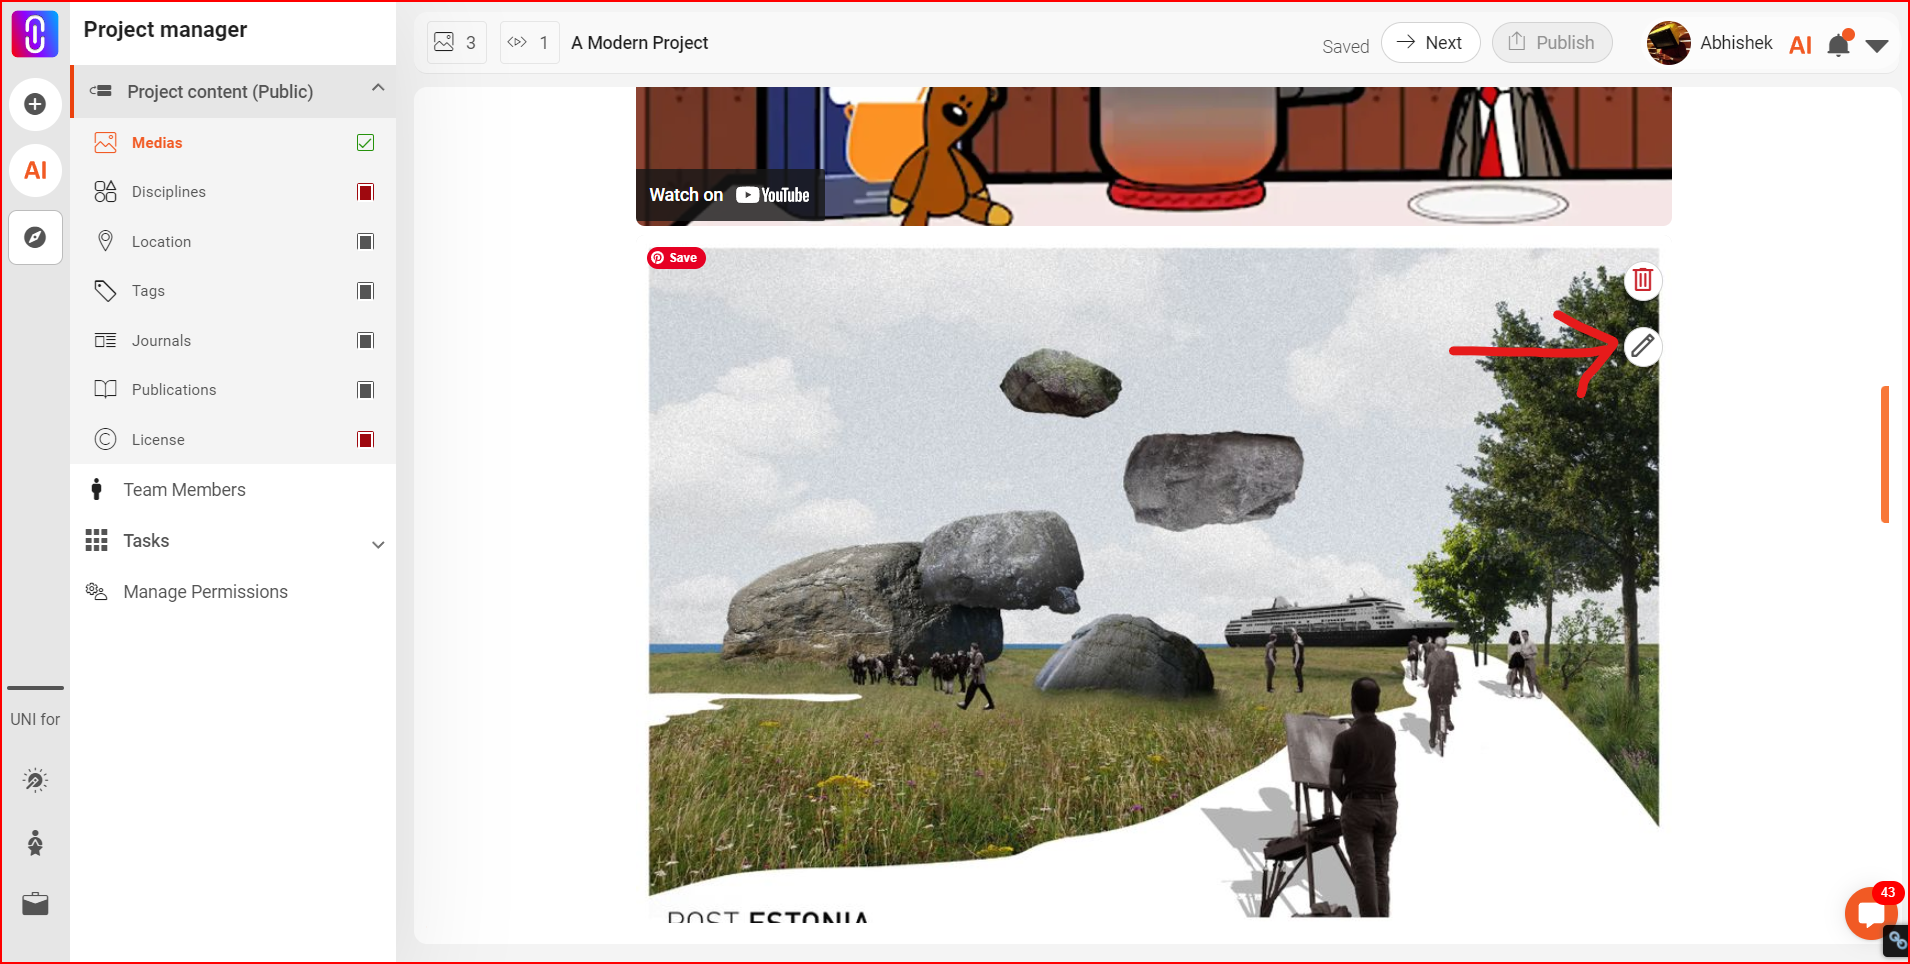
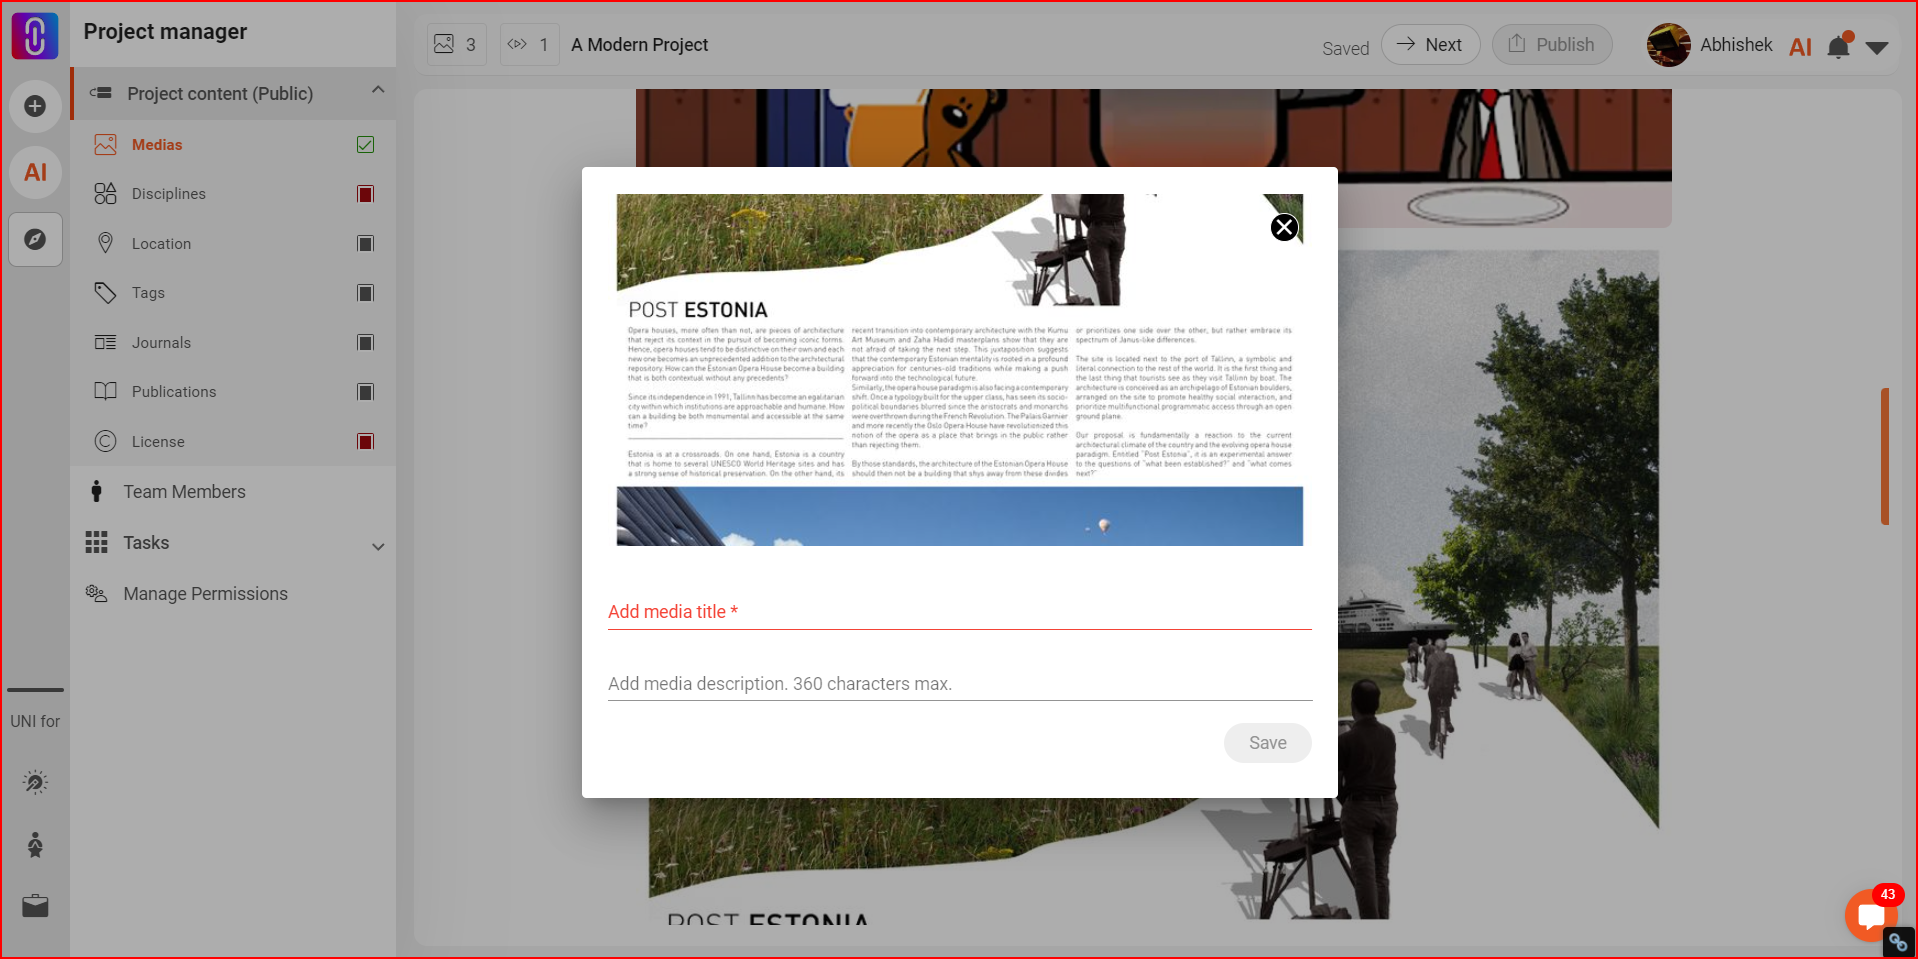
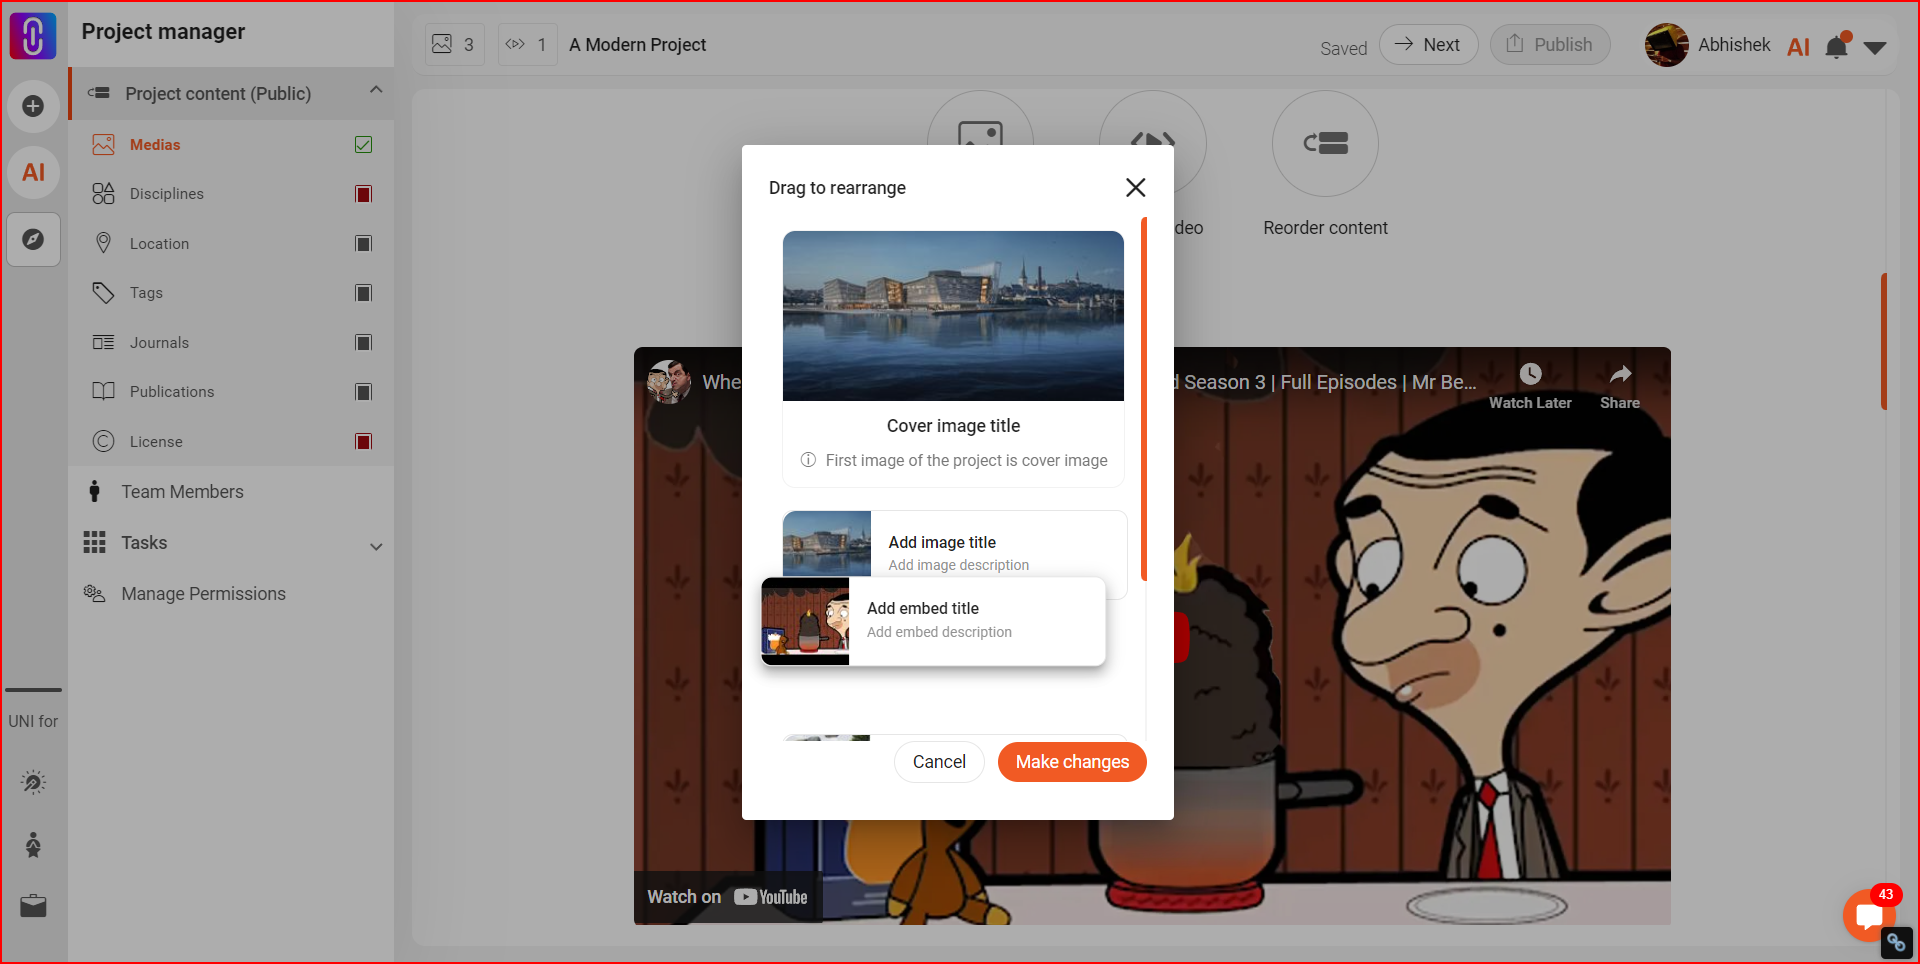
Editing and Reordering: Add titles and descriptions to each piece of content by clicking on the edit button on the image. You can also and reorder them as needed, including changing your cover image. Remember that your first image is always the cover image of the project.
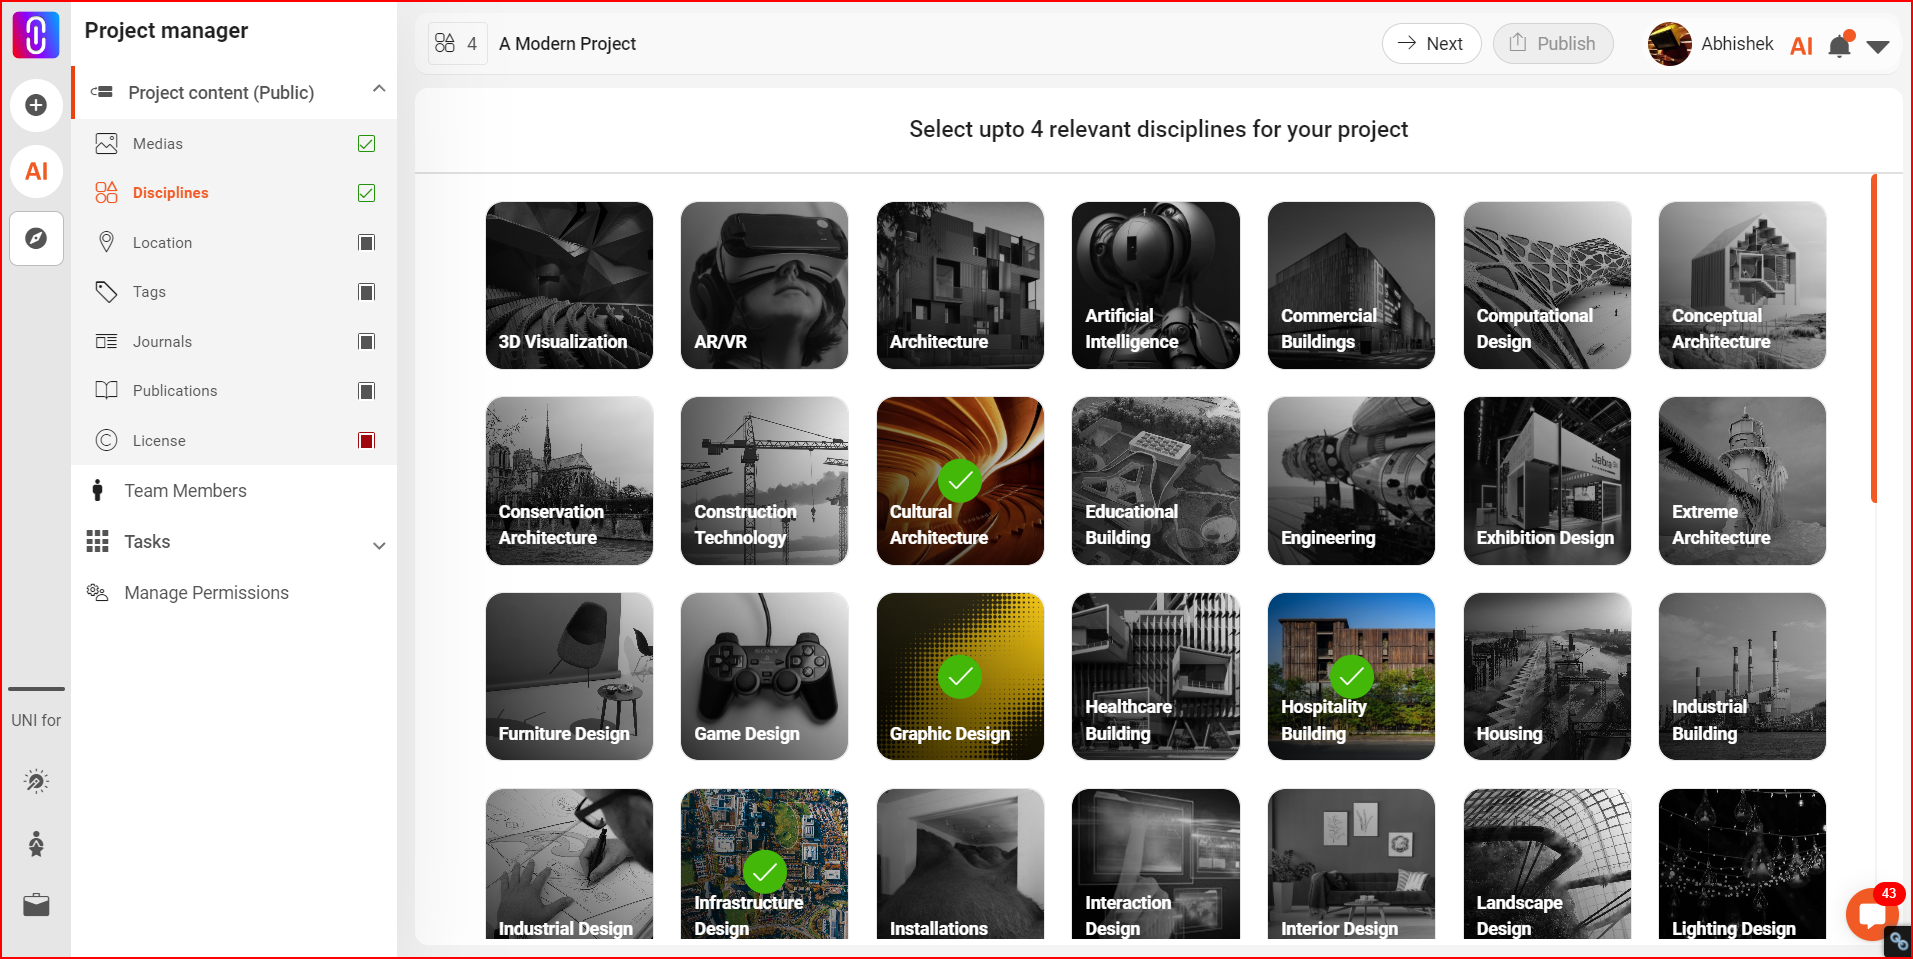
Tag your project with at least one and up to four disciplines to categorize it effectively. This helps in better indexing and discovery of your project on UNI.
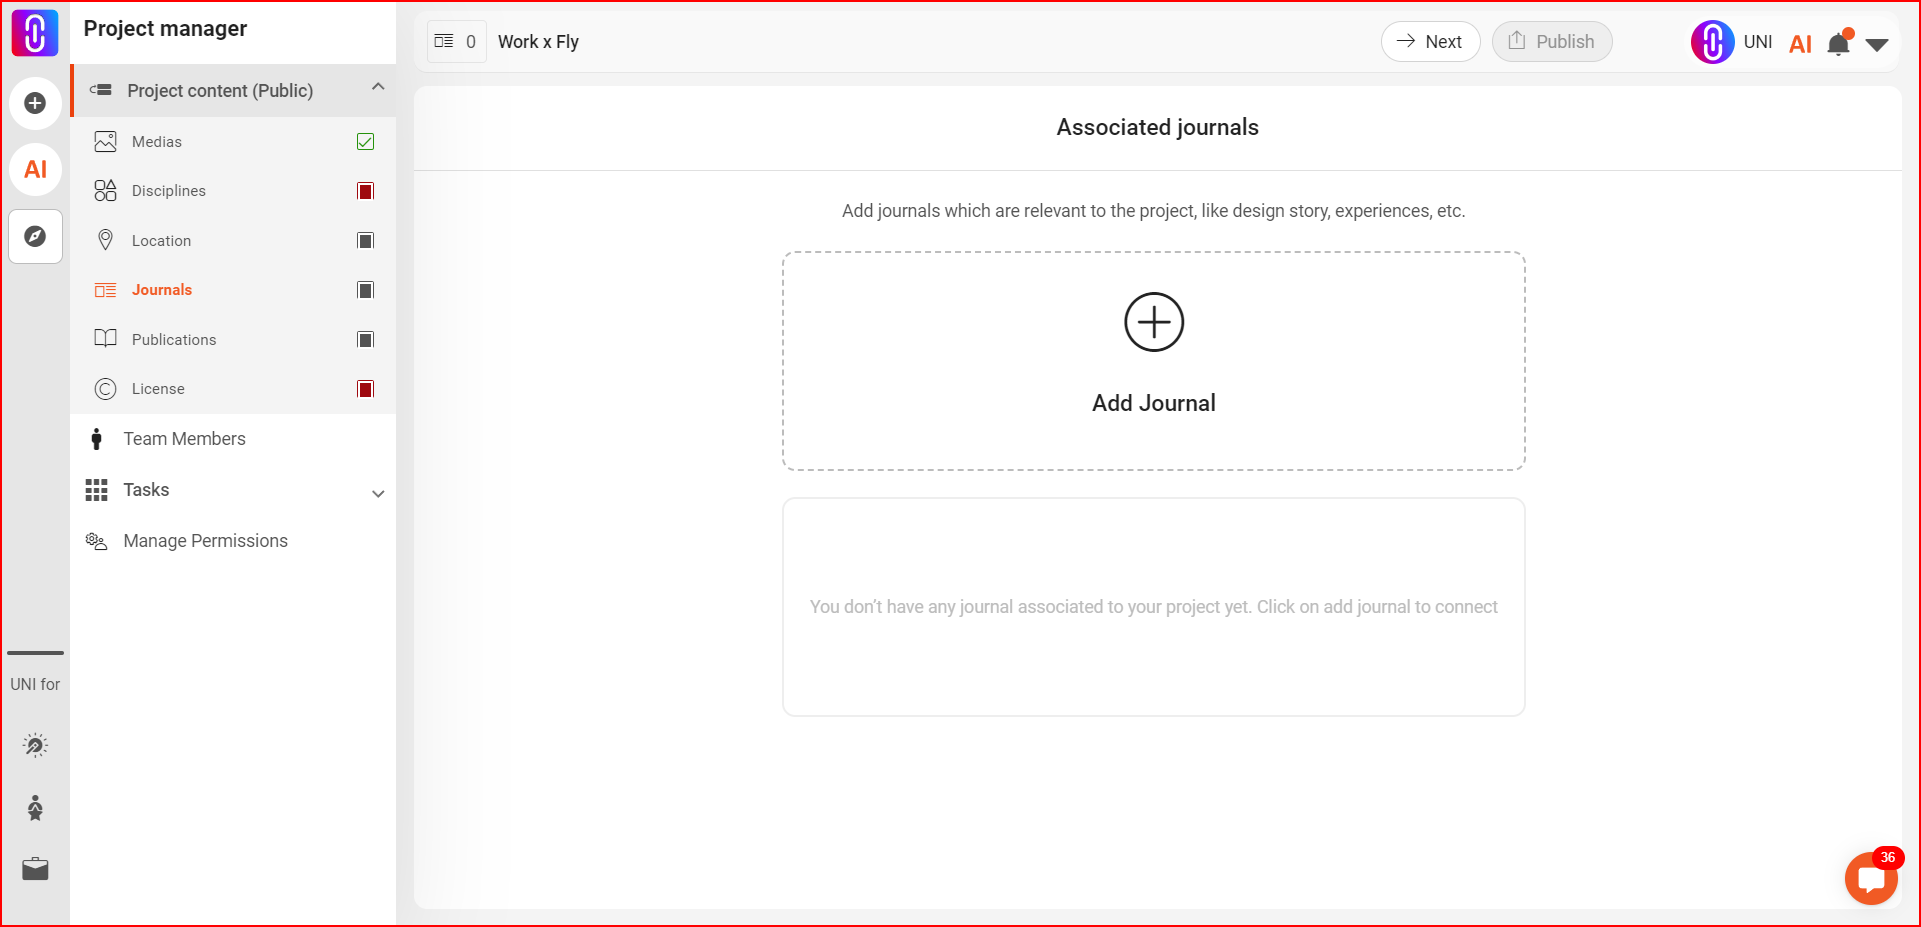
Journals: Use journals to chronicle the developmental stages of your project, offering a detailed narrative of its evolution. You can connect one or more journal to your project narrating different aspects of your project throughout it's lifecycle. Here's how you can connect your published journal to your project:
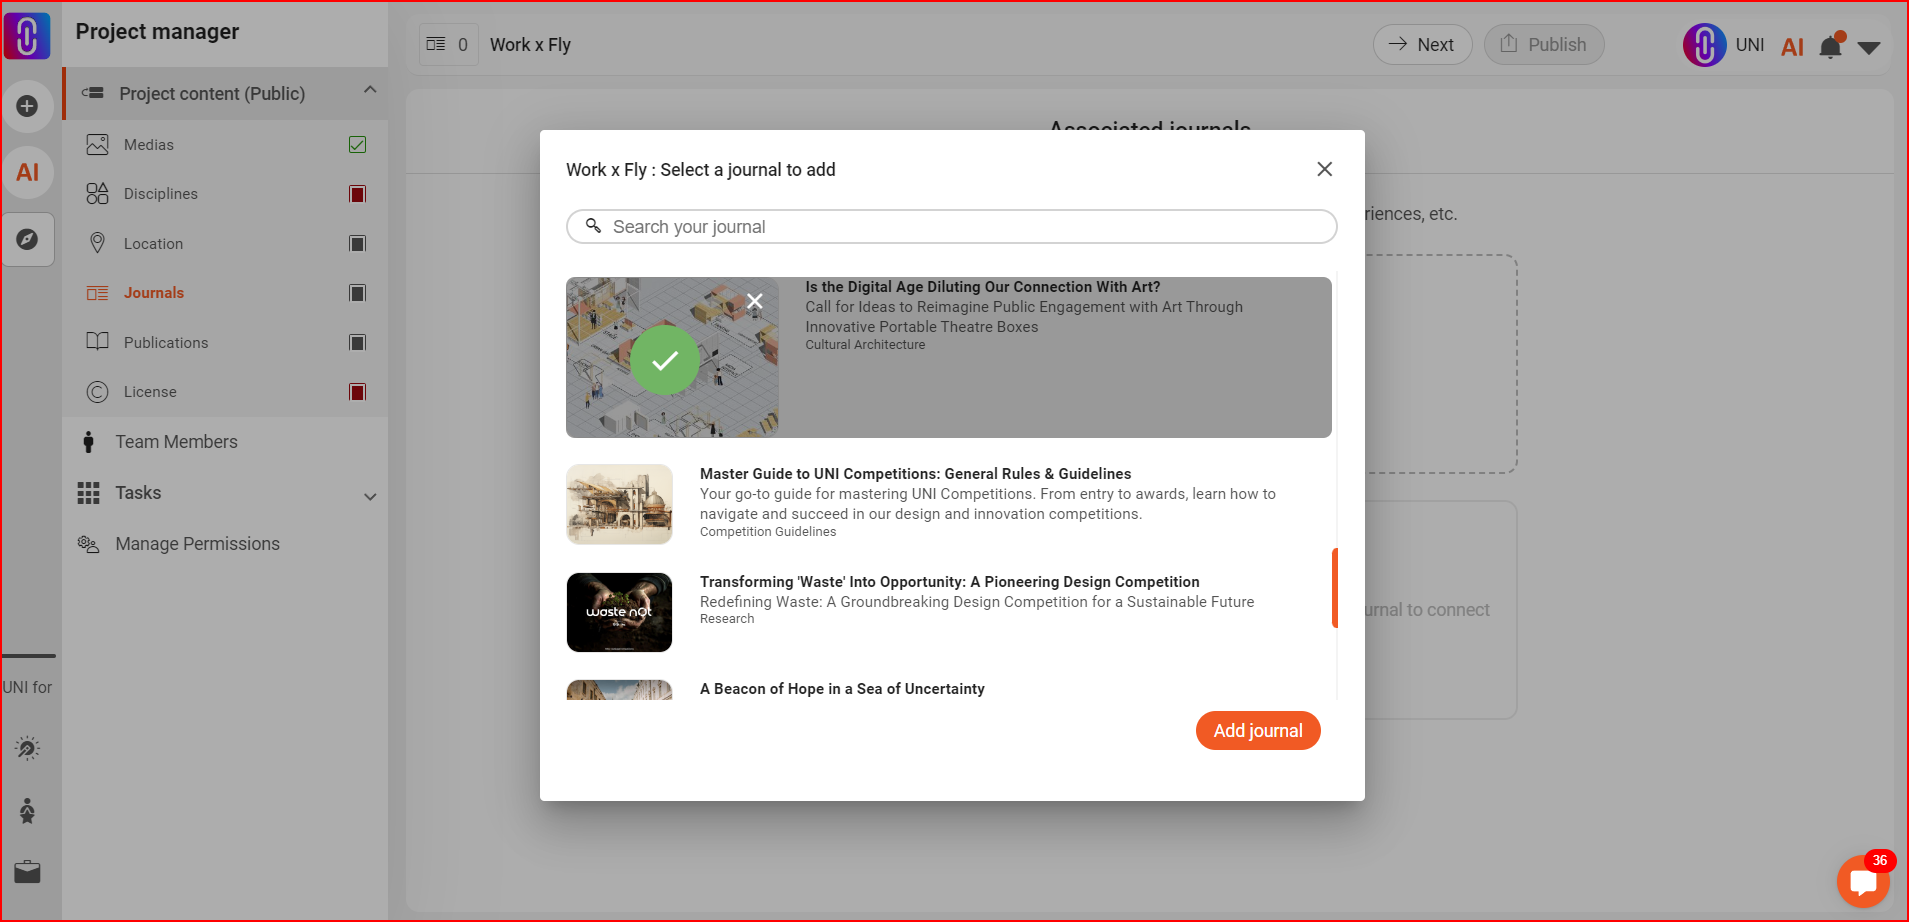
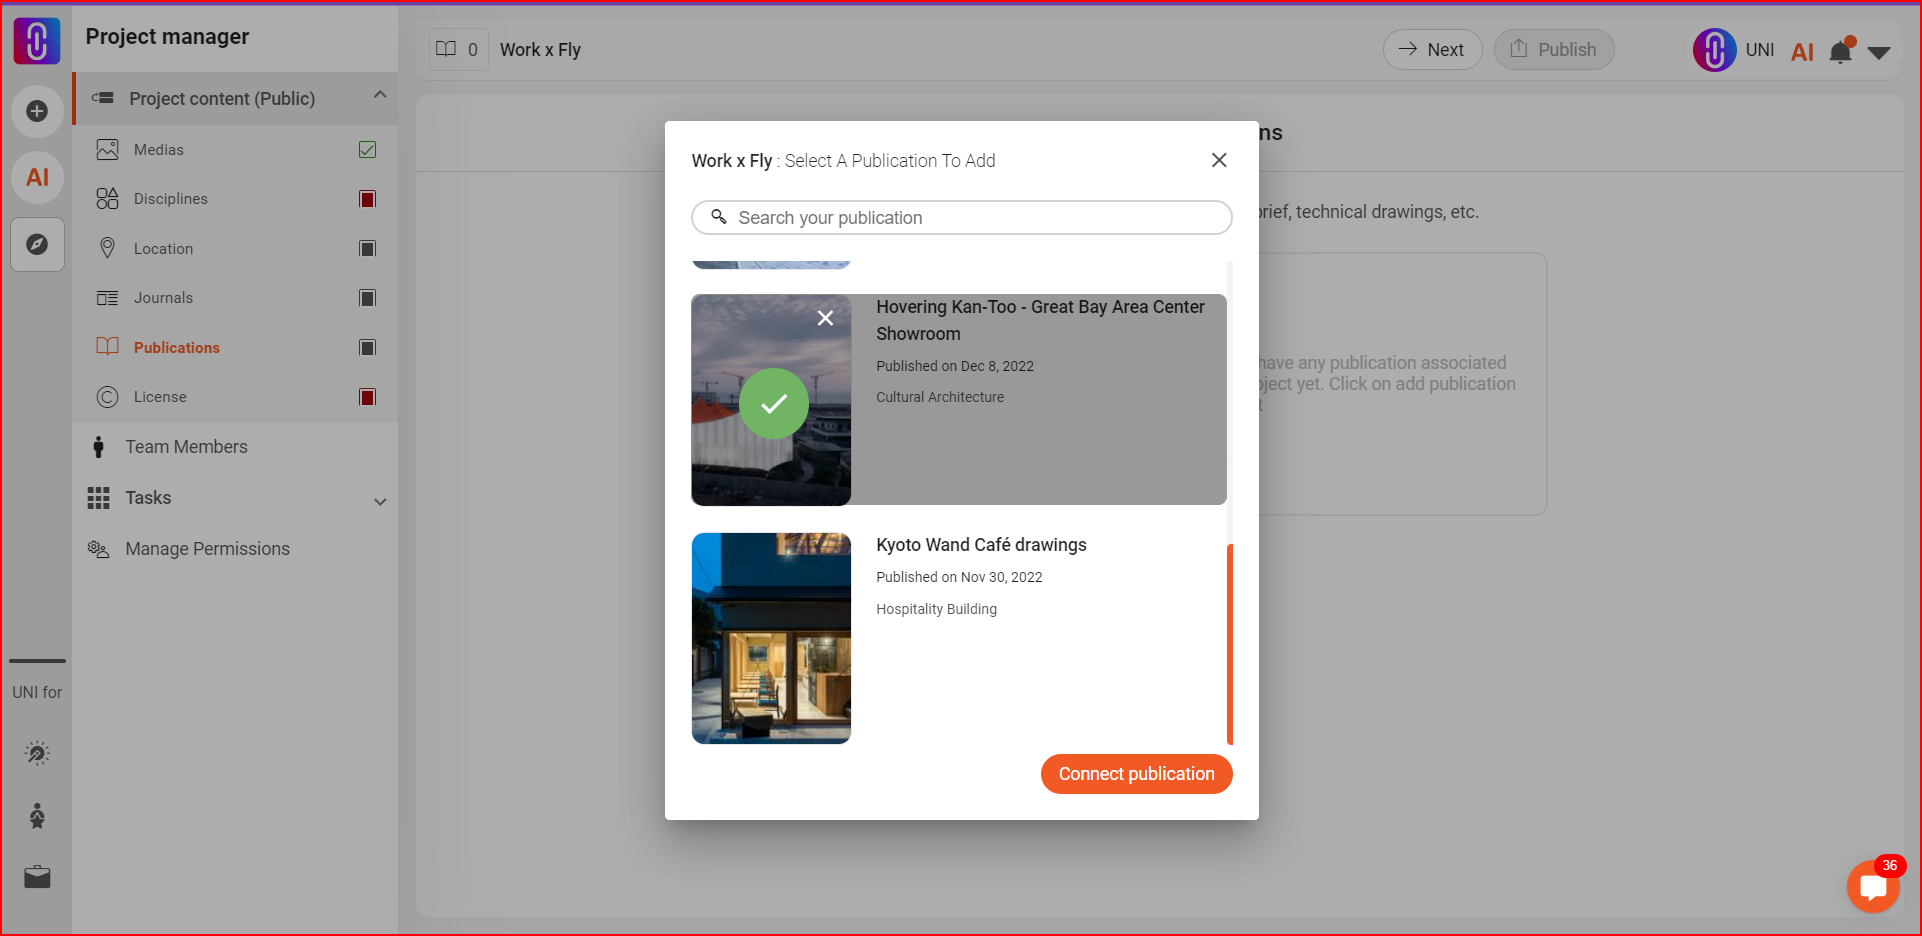
Publications: Attach publications like technical drawings or brochures to provide a comprehensive view of your project without compromising on detail. It is also the best way to present your content without loss of details that happens because of image optimization.
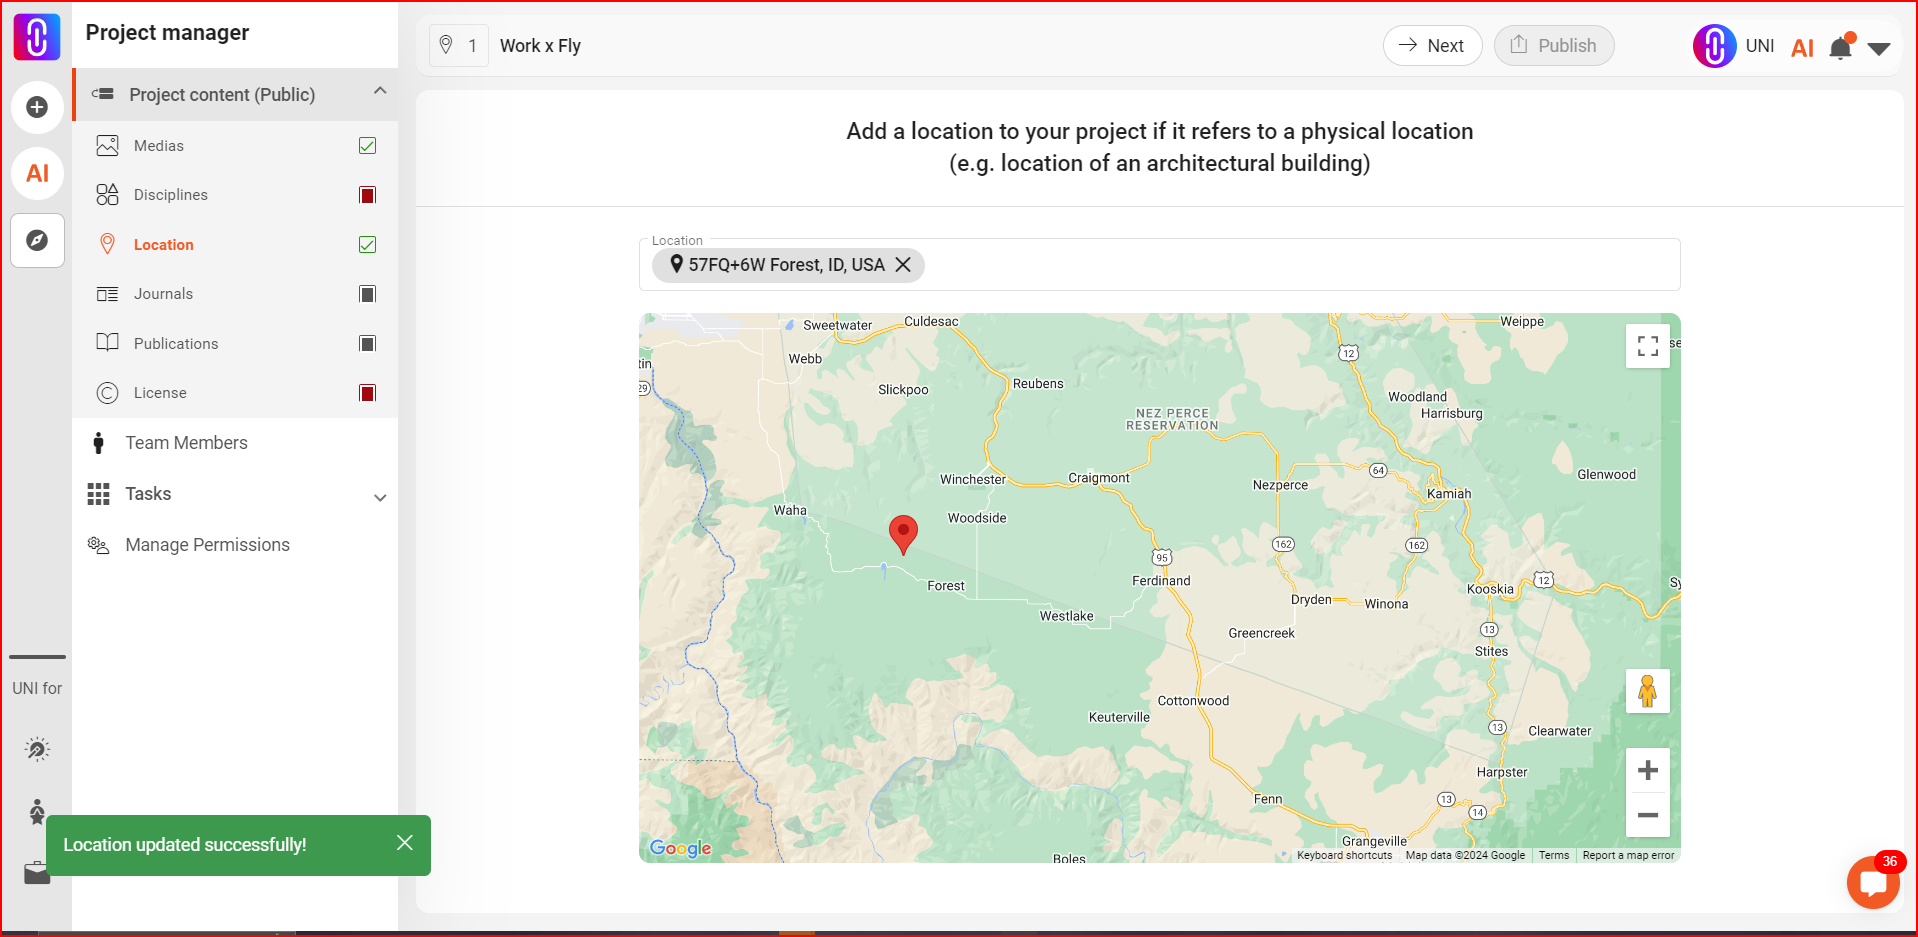
Accurately mark the location of your project using the map feature. This geographical context adds depth to your project’s presentation. Search for a closest proximity of your location first then choose the exact location of your project (if applicable).
Choose the appropriate copyright license for your project from various Creative Commons options or opt for full copyright reservation.
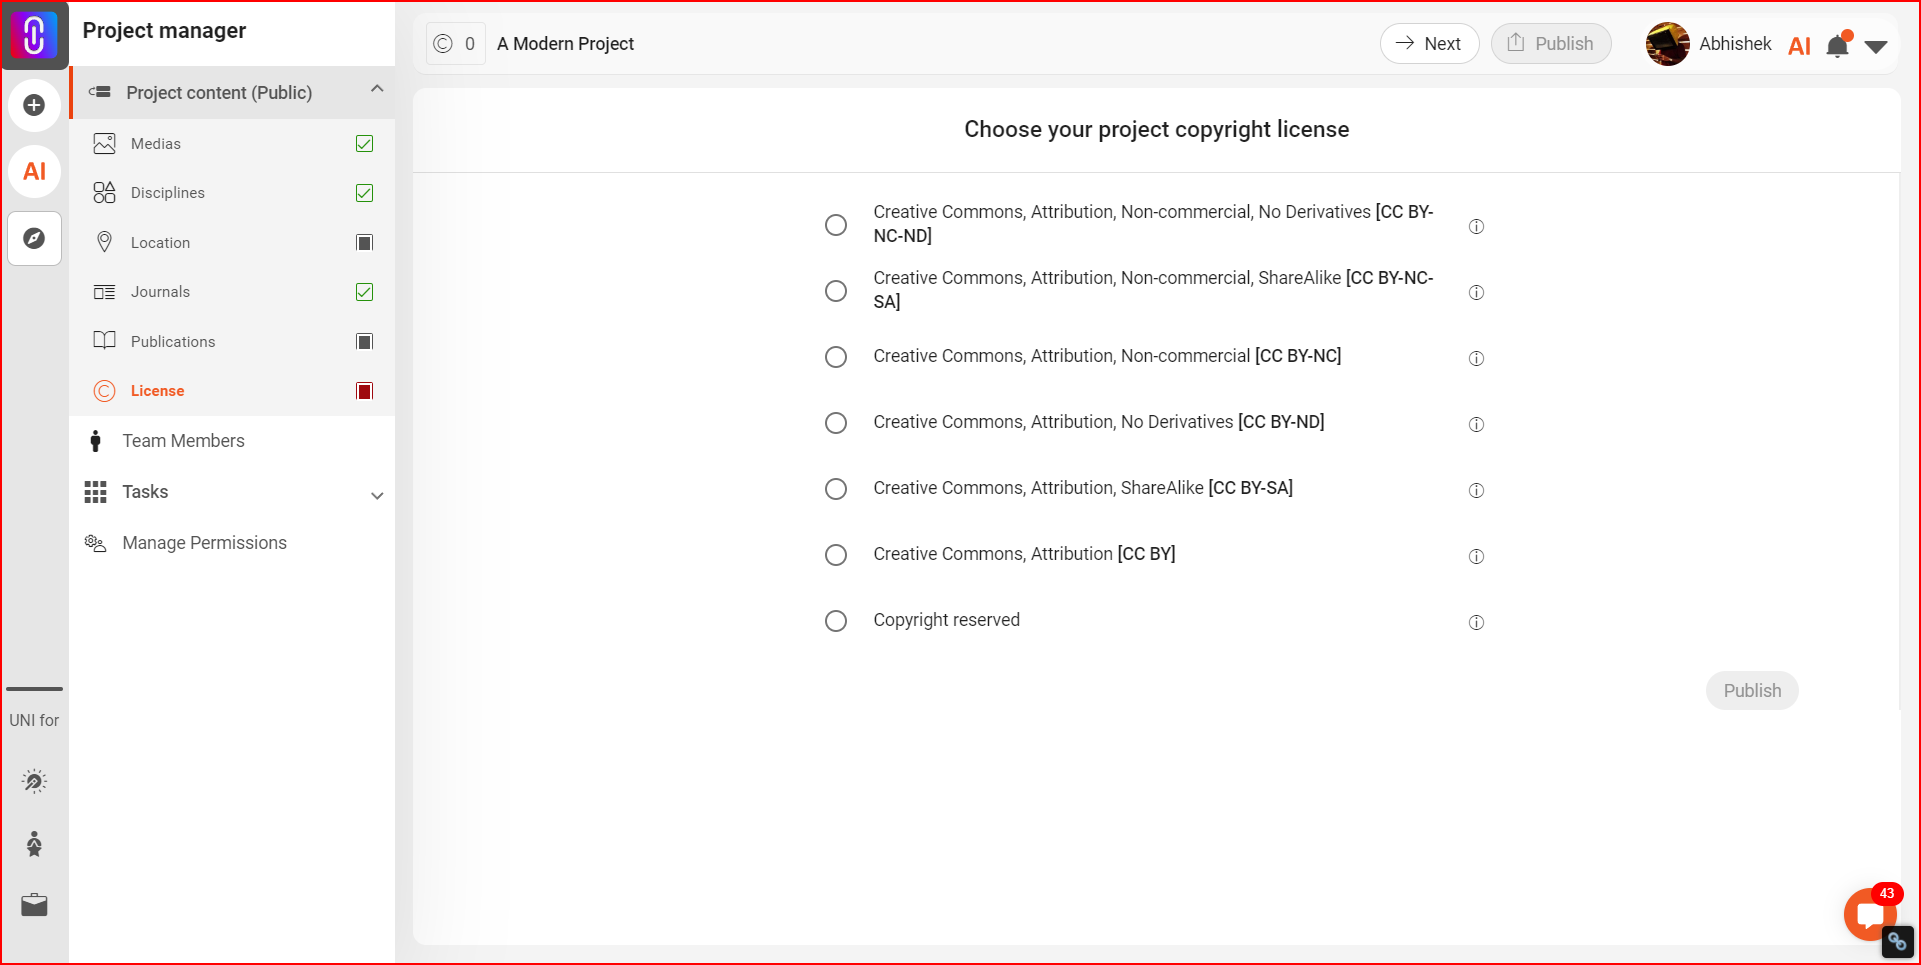
Before publishing, ensure you have added a title, description, cover image, at least one discipline, a license, and at least one media file. Remember, this is how your project will be viewed publicly on UNI and the internet.
If your project involves other team members or you want to add your organization as well, refer to our separate guide on adding team members and managing their permissions in a project.
How to invite team members to the project?
inviting team members in the project
Notes: Your project’s content and team information will be visible to everyone on UNI and on the internet, so ensure everything is accurate and represents your work in the best way possible.